Automation azure workbook with terraform IAC!
What Are Azure Workbooks? #
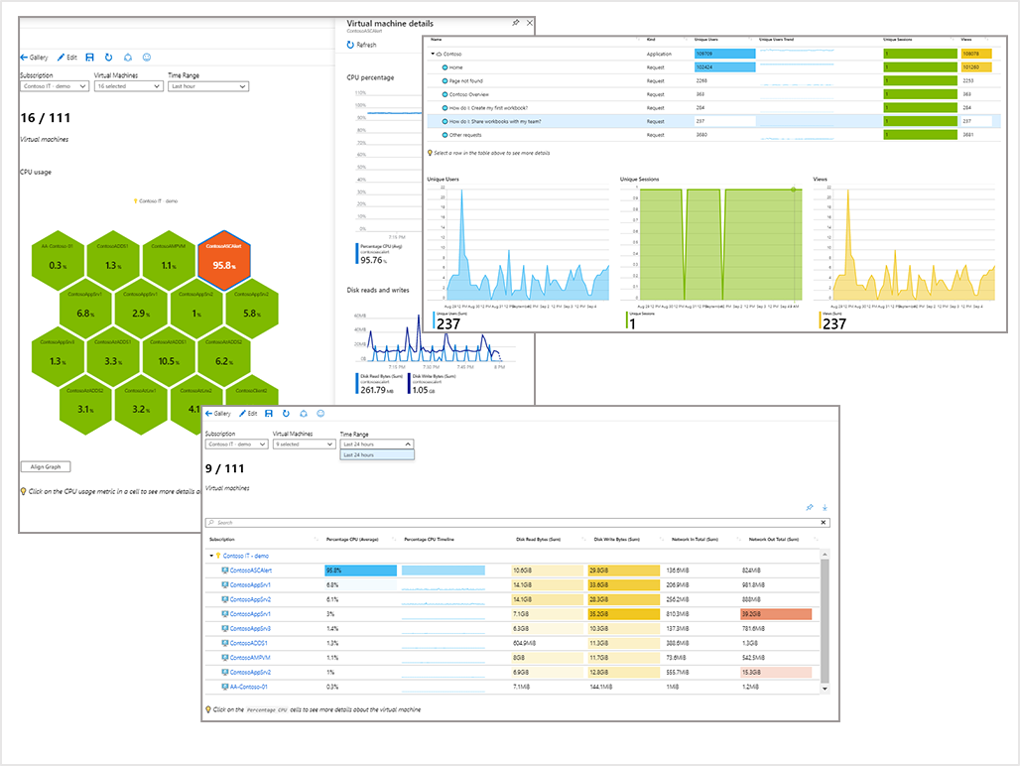
Before we dive into the workflow, let's briefly touch on what Azure Workbooks are. Azure Workbooks is a service within Azure that allows you to create rich, interactive reports and dashboards. Think of them as a canvas where you can combine text, queries, metrics, and parameters to create a single, consolidated view of your data.
Key features of Azure Workbooks include:
- Multiple Data Sources: You can query data from a wide variety of sources, including Log Analytics, Application Insights, Azure Resource Graph, and more.
- Rich Visualizations: Workbooks provide a rich set of visualizations, including charts, graphs, tables, and maps.
- Interactivity: You can create interactive reports with parameters, drop-downs, and drill-down capabilities, allowing users to explore the data in a dynamic way.
Common use cases for Azure Workbooks include monitoring application performance, analyzing user behavior, creating operational dashboards, and troubleshooting issues. They are a versatile tool for anyone who needs to make sense of the data generated by their Azure resources.
The Core Workflow: From Code to Content #
The code used for the examples in this article is available in this repository on GitHub: https://github.com/olehrechukh/azure-tf-workbooks-demo
This workflow is designed to be a continuous loop, allowing you to evolve your workbooks over time as your monitoring and reporting needs change.
- Create from Scratch with Terraform: The workflow begins by defining the workbook as a code asset in Terraform. This establishes a single source of truth for your workbook and ensures that it is managed in a repeatable and version-controlled way.
- Populate with Your Own Content: Once the workbook is created, you can use the Azure portal to design and add your own charts, tables, and other content. This is the creative phase of the workflow, where you can leverage the rich and interactive UI of Azure Workbooks to build your reports.
- Capture Your Content as Code: After you have designed your content in the UI, you will export the updated workbook definition as a JSON payload and use it to update your Terraform configuration. This captures the state of your workbook's content as code and allows you to redeploy it consistently across all your environments.
A Deep Dive into the Workflow #
Let's now explore each part of this workflow in detail. For the purposes of this article, we will be creating a Log Analytics Workspace as the primary data source for our workbook. This is a common scenario, but the same principles apply to other data sources like Application Insights. The storage account in our example is used for simplicity to store our data, but your workbook can be connected to a wide variety of data sources.
1. Initialization with Empty State #
The first step of our workflow is to initialize the workbook with an empty state. As you can see in the main.tf file, the azurerm_application_insights_workbook resource is configured to use workbook.json, which contains a minimal payload for an empty workbook. This ensures that the workbook is created as a code-managed asset from the very beginning and provides a clean slate for our design work.
# main.tf
terraform {
  required_providers {
    azurerm = {
      source  = "hashicorp/azurerm"
      version = "~> 4.44"
    }
  }
}

provider "azurerm" {
  features {}
}

data "azurerm_client_config" "current" {}
data "azurerm_subscription" "current" {}

resource "azurerm_resource_group" "rg" {
  name     = "rg-workbook"
  location = "eastus2"
}

resource "azurerm_storage_account" "sa" {
  name                     = "saexampleworkbook"
  resource_group_name      = azurerm_resource_group.rg.name
  location                 = azurerm_resource_group.rg.location
  account_tier             = "Standard"
  account_replication_type = "LRS"
}

resource "azurerm_log_analytics_workspace" "log_analytics" {
  name                = "law-workbook"
  location            = azurerm_resource_group.rg.location
  resource_group_name = azurerm_resource_group.rg.name
  sku                 = "PerGB2018"
}

resource "azurerm_application_insights_workbook" "monitoring" {
  name                = "85b3e8bb-fc93-40be-83f2-98f6bec18ba0"
  resource_group_name = azurerm_resource_group.rg.name
  location            = azurerm_resource_group.rg.location
  display_name        = "Monitoring"
  source_id           = lower(azurerm_log_analytics_workspace.log_analytics.id)

  data_json = jsonencode(templatefile("${path.module}/workbook.json", {
    fallbackResourceId  = "/subscriptions/${data.azurerm_subscription.current.subscription_id}/resourcegroups/${azurerm_resource_group.rg.name}/providers/microsoft.operationalinsights/workspaces/${azurerm_log_analytics_workspace.log_analytics.name}"
  }))

  tags = {
    "hidden-link:" = "Resource"
  }
}
// workbook.json
{
  "version": "Notebook/1.0",
  "items": [],
  "fallbackResourceIds": [
    "${log_analytics_workspace_id}"
  ],
  "$schema": "https://github.com/Microsoft/Application-Insights-Workbooks/blob/master/schema/workbook.json"
}
Running
terraform applywith this configuration will create a new, empty workbook in your Azure subscription. This is your starting point, a blank canvas that is fully managed by your Terraform code.
We will discuss a using templatefile later.
2. Adding a Chart in the UI #
Now that you have an empty workbook, you can navigate to it in the Azure portal and start designing your content. For example, you can add a new chart that visualizes the number of storage account transactions by API name, helping you monitor which operations, such as retrieving blob properties or deleting containers, are being used most frequently.
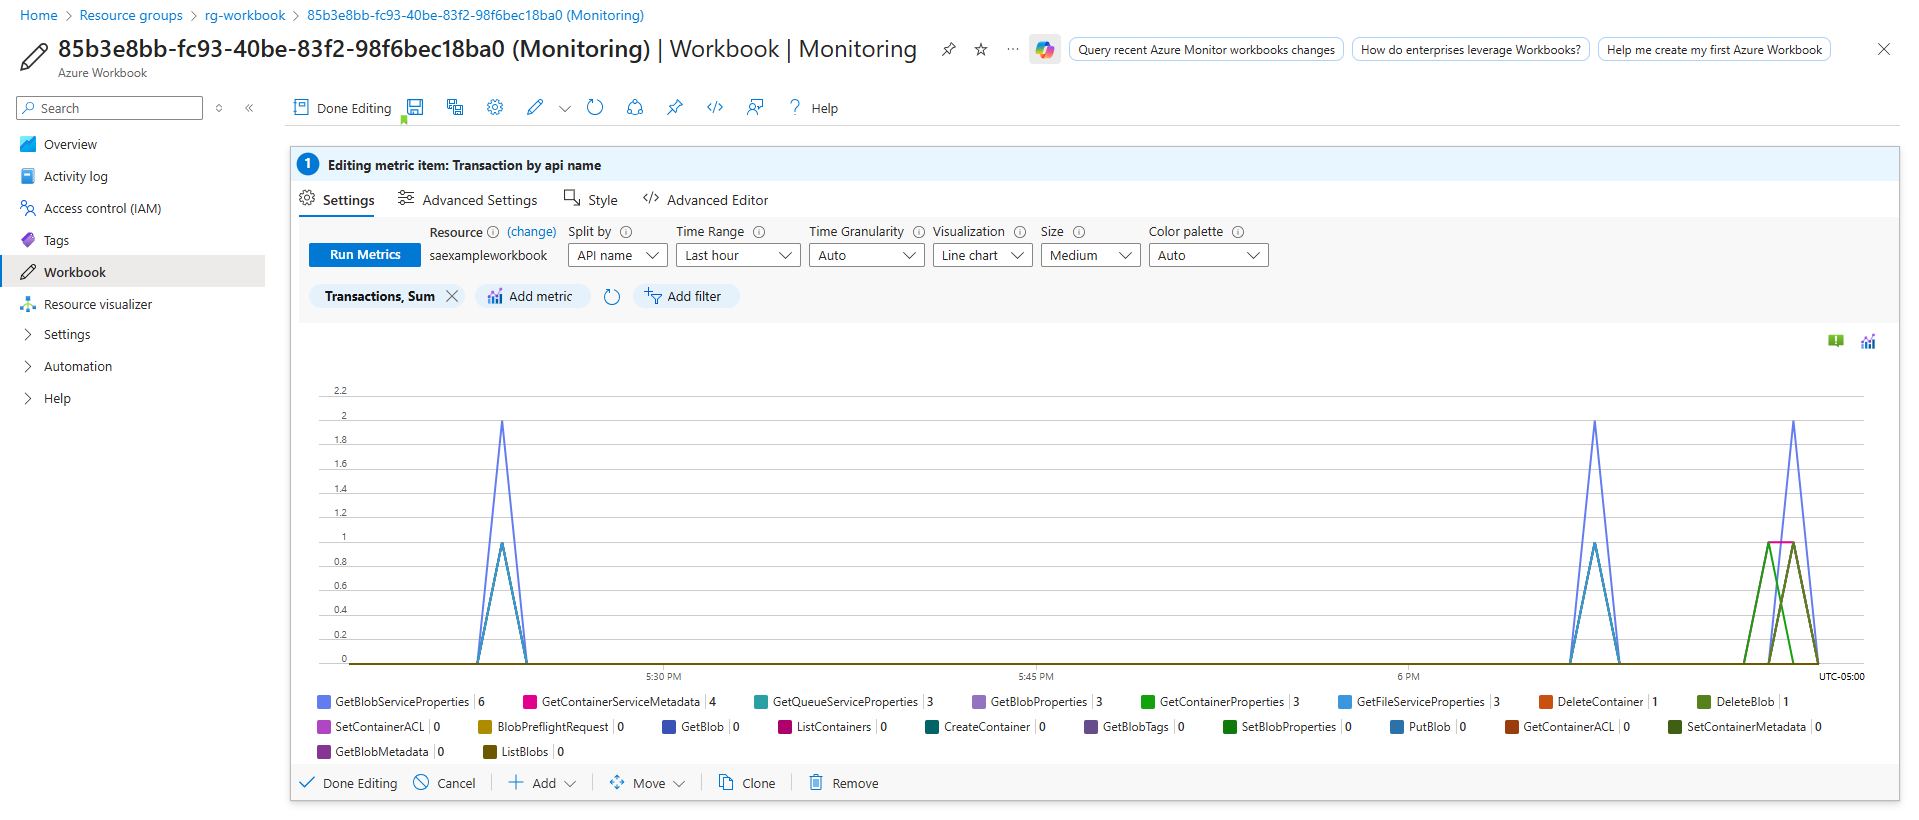
Do not save manually; it is not recommended, as Terraform will override it.
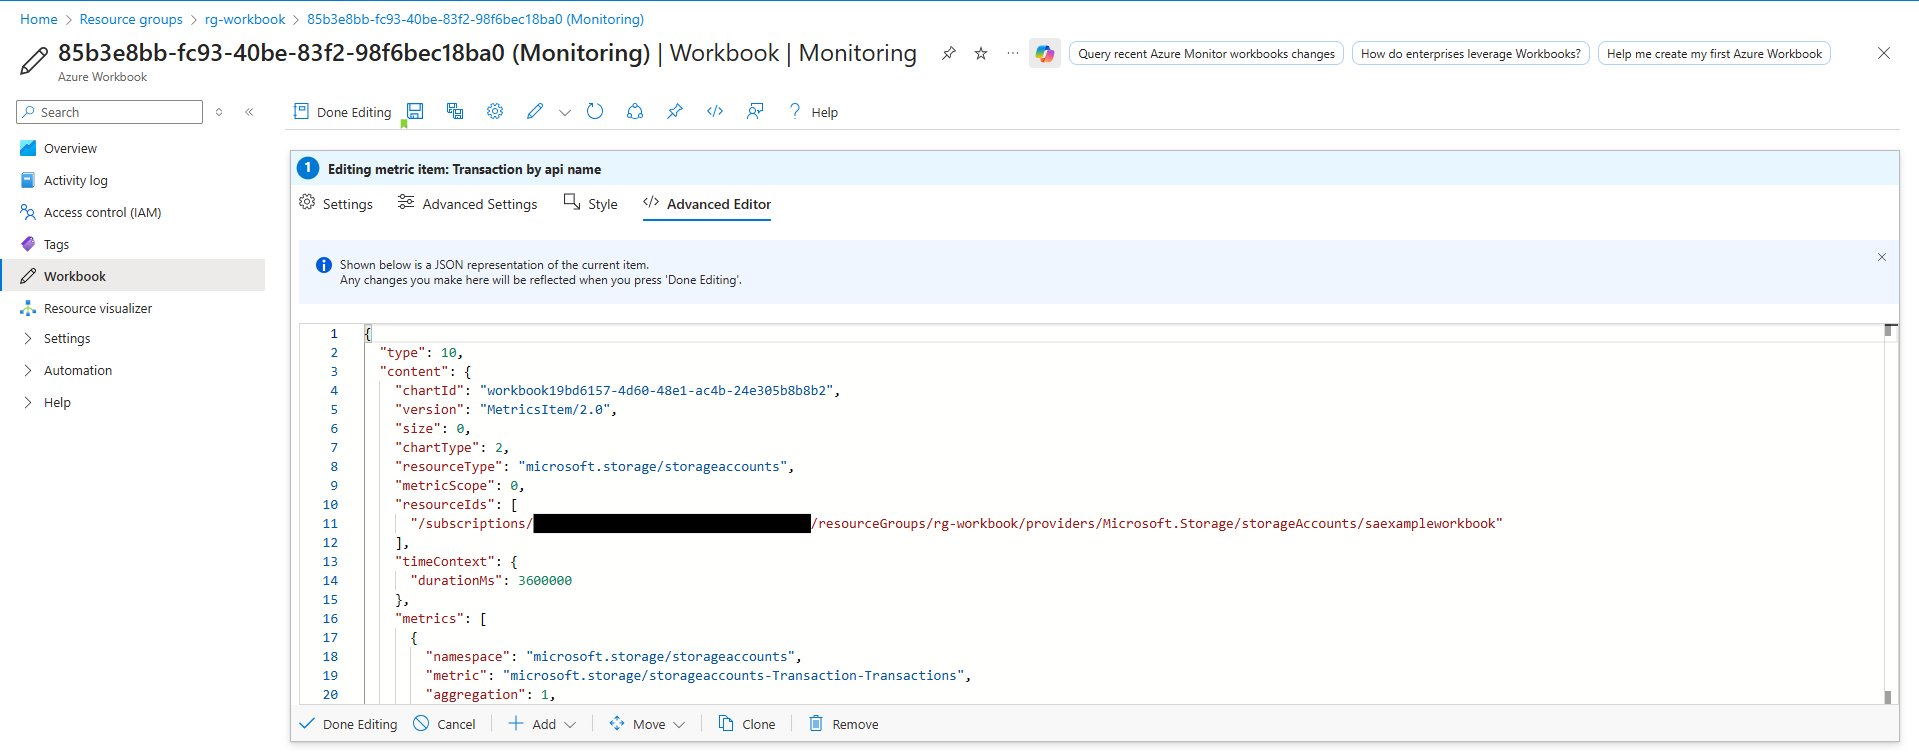
3. Exporting the Updated JSON #
Once you have ended your chart, you need to export the updated JSON definition. To do this, click on the "</>" button (Advanced Editor) in the workbook's toolbar. This will open the JSON editor with the new, updated payload. Copy the entire JSON content to your clipboard.
4. Updating the Terraform Configuration #
Edit the workbook.json file and paste the exported JSON into the items section. Parameterize the resourceIds field so the value can be supplied by the calling module.
{
    "version": "Notebook/1.0",
    "items": [
        {
            "type": 10,
            "content": {
                "chartId": "workbook85d2d5d7-0e4c-4c24-8d42-47bf8300bdc0",
                "version": "MetricsItem/2.0",
                "size": 0,
                "chartType": 2,
                "resourceType": "microsoft.storage/storageaccounts",
                "metricScope": 0,
                "resourceIds": [
                    "${storageAccountId}"
                ],
                "timeContext": {
                    "durationMs": 3600000
                },
                "metrics": [
                    {
                        "namespace": "microsoft.storage/storageaccounts",
                        "metric": "microsoft.storage/storageaccounts-Transaction-Transactions",
                        "aggregation": 1,
                        "splitBy": [
                            "ApiName"
                        ],
                        "columnName": ""
                    }
                ],
                "title": "Transactions by API name",
                "showOpenInMe": true,
                "gridSettings": {
                    "rowLimit": 10000
                }
            },
            "customWidth": "50",
            "showPin": true,
            "name": "Transaction by api name"
        }
    ],
    "fallbackResourceIds": [
        "${fallbackResourceId}"
    ],
    "$schema": "https://github.com/Microsoft/Application-Insights-Workbooks/blob/master/schema/workbook.json"
}
Next, update your main.tf to reference the new JSON template:
  data_json = jsonencode(templatefile("${path.module}/workbook.json", {
    storageAccountId = "/subscriptions/${data.azurerm_subscription.current.subscription_id}/resourcegroups/${azurerm_resource_group.rg.name}/providers/Microsoft.Storage/storageAccounts/${azurerm_storage_account.sa.name}",
    fallbackResourceId  = "/subscriptions/${data.azurerm_subscription.current.subscription_id}/resourcegroups/${azurerm_resource_group.rg.name}/providers/microsoft.operationalinsights/workspaces/${azurerm_log_analytics_workspace.log_analytics.name}"
  }))
Understanding the templatefile Function #
The templatefile function is a powerful feature of Terraform that plays a crucial role in this workflow. It allows you to read a file from your local filesystem and render it as a template, substituting variables that you provide. The syntax is as follows:
templatefile(path, vars)path: The path to the template file. In our case, this is the path to ourworkbook.jsonfile.vars: A map of variables that will be substituted into the template. The keys of the map are the variable names used in the template file (e.g.,log_analytics_workspace_id), and the values are the corresponding values from your Terraform configuration.
In the context of our workbook automation workflow, the templatefile function provides several key benefits:
- Separation of Concerns: It allows you to keep the complex JSON definition of your workbook separate from your main Terraform logic, which significantly improves the readability and maintainability of your code.
- Parameterization and Reusability: It enables you to parameterize your workbook's JSON, making it a reusable template that can be deployed across multiple environments with different configurations.
- Dynamic Configuration: It allows you to inject dynamic values into your workbook's definition, such as the resource ID of a Log Analytics Workspace that is created in the same Terraform configuration.
By using the templatefile function, you can create a clean, modular, and reusable solution for managing your Azure Workbooks as code.
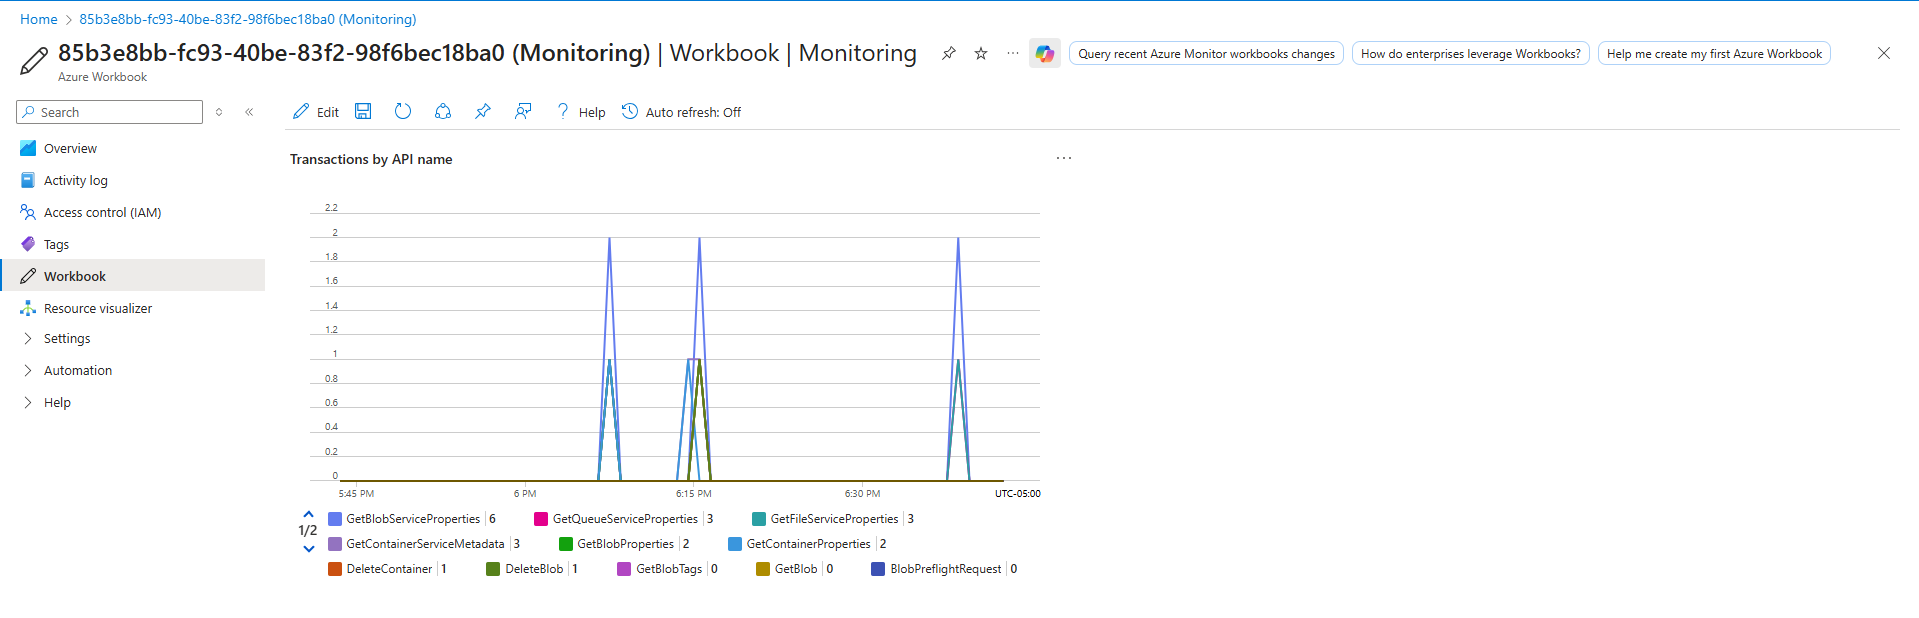
Running
terraform apply
again will update the workbook in place, adding the new chart to it.
Bingo, it works.
5. The Iterative Loop #
This process of designing in the UI, exporting the JSON, and updating your Terraform configuration can be repeated as many times as needed. This allows you to evolve your workbooks over time, adding new charts, tables, and text as your monitoring requirements change. Each iteration is captured in your version control system, providing a complete history of your workbook's evolution.
Scaling the Workflow #
This iterative workflow can be easily scaled to manage a large number of workbooks across multiple environments. By using Terraform workspaces and creating a reusable module for your workbooks, you can ensure consistency and reduce code duplication.
Beyond the Basics: Advanced Workbooks and Public Templates #
The examples in this article are intentionally simple to illustrate the core workflow. However, the real power of Azure Workbooks lies in their ability to create rich, complex, and highly customized reports. You are encouraged to build your own advanced workbooks, but you don't have to start from scratch. There is a rich ecosystem of public workbook templates available that you can use as a starting point. A great place to find inspiration is the official Microsoft repository for Application Insights Workbooks on GitHub. This repository contains a large collection of community-contributed workbook templates for a wide variety of scenarios. To use a public template, you can simply download the JSON file, parameterize it with your own variables, and integrate it into your Terraform workflow as described in this article. This can save you a significant amount of time and effort and allow you to leverage the collective knowledge and experience of the Azure community.
Best Practices for the Iterative Workflow #
- Commit After Each Iteration: After each iteration of the workflow, commit your changes to your Git repository. This will create a clear and auditable history of your workbook's evolution.
- Separate Your Concerns: Keep your JSON files separate from your
.tffiles. This will make your project easier to navigate and maintain. - Embrace the Full Loop: Don't be tempted to make manual changes to your workbooks in the Azure portal without capturing them in your Terraform configuration. Always complete the loop by exporting the JSON and updating your code.
Conclusion #
Defining Azure Workbooks as code and iterating via the portal provides the best of both worlds: the flexibility of the Azure UI for rapid design, and the repeatability and auditability of Terraform for deployment and configuration management. Start with an empty, code-managed workbook, design interactively in the portal, export the JSON, and commit the template back into your Terraform configuration. Repeat this loop as requirements evolve.